Dishwasher Installation Kit: What’s Included and How to Install
A dishwasher installation kit is the small bundle of parts that connects a new dishwasher to the water, drain, and electrical lines already under the sink. Usually that’s a water supply line, a power cord, and a few fittings. Most kits cost between twelve and forty dollars. Buying the wrong one means an extra trip to the hardware store.
This guide covers what’s actually in a typical kit and what it costs versus paying someone else to do the job. Then it walks through connecting each part.
What’s Included in a Dishwasher Installation Kit
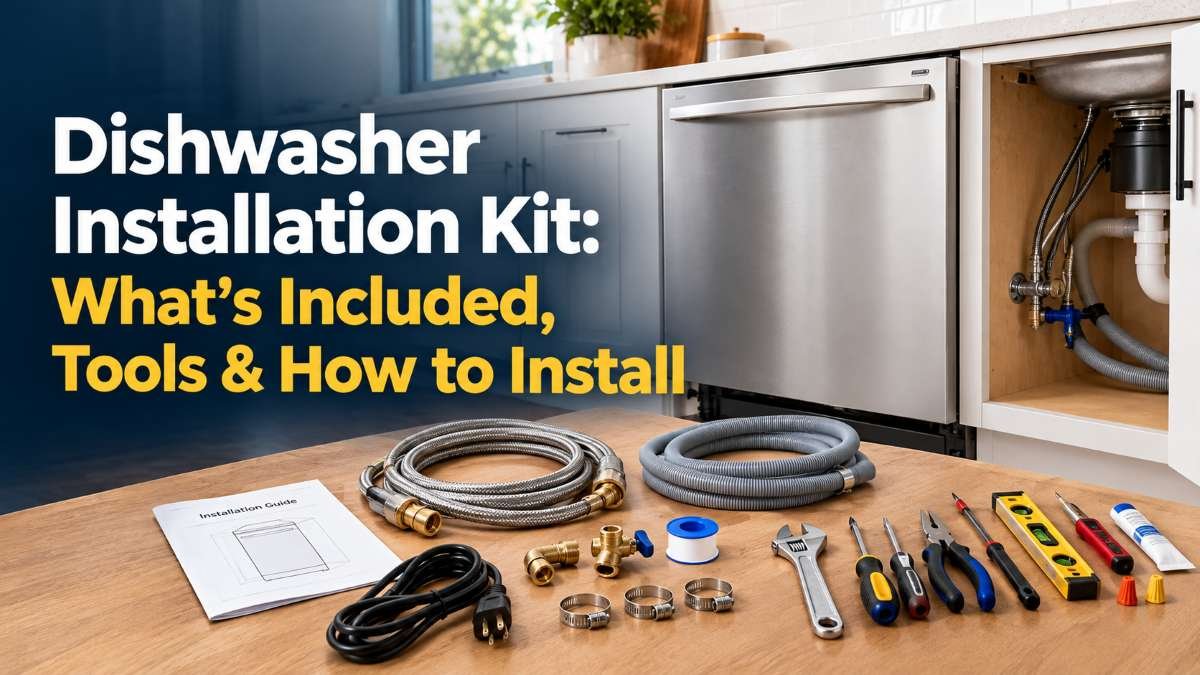
A typical kit has four parts:
- Water supply line – braided stainless steel, 4 to 8 feet long, with a 3/8-inch compression fitting on each end.
- Power cord – a 5 or 6-foot cord with a 3-prong plug. Included only if your dishwasher plugs in instead of hardwiring.
- Fittings – brass elbows, a gooseneck adapter, sometimes a tee valve, to connect the water line to your shutoff valve.
- Hose clamps – usually 2 to 4, used to secure the drain hose connection.
Not every kit includes a drain hose. That part often ships with the dishwasher itself, at a standard 5/8-inch diameter.
The items included in the box may vary depending on the brand and model. Bosch 800 Series dishwashers come with a drain hose and a junction box for hardwiring, but the water supply hose must be purchased separately. Before buying an installation kit, be sure to check the installation manual or product listing for your specific dishwasher model.
Tools for a Dishwasher Installation Kit Setup
Most of these are already in a kitchen drawer:
- Adjustable wrench
- Screwdriver
- Needle-nose pliers
- Standard level
- Tube cutter, if you’re trimming a braided line to length
- Voltage tester, if you’ll be near a hardwired junction box
- Pipe joint compound, for the elbow fitting’s threads
- Wire nuts, for a hardwired power connection
Wear safety glasses too. You’ll be reaching up under the cabinet, where a dropped fitting or a splash of water is common.
How to Connect the Dishwasher Water Supply Line
Step 1: Turn off the water and electricity
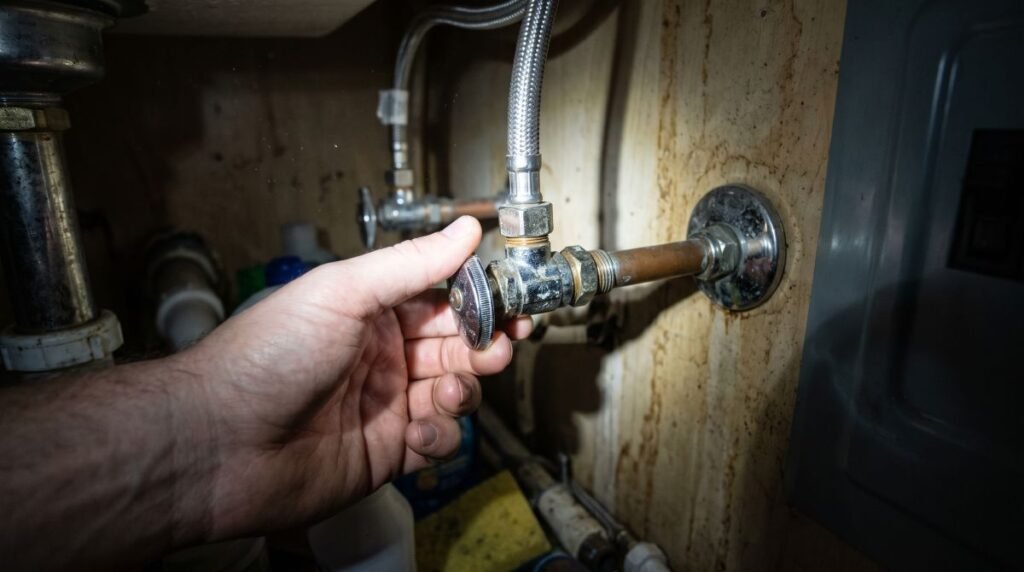
Close the hot water shut-off valve located under the sink. Additionally, turn off the power to the dishwasher at the circuit breaker. Skipping this step could result in water spilling onto the floor of the cabinet.
Step 2: Connect the elbow fitting to the dishwasher’s water valve
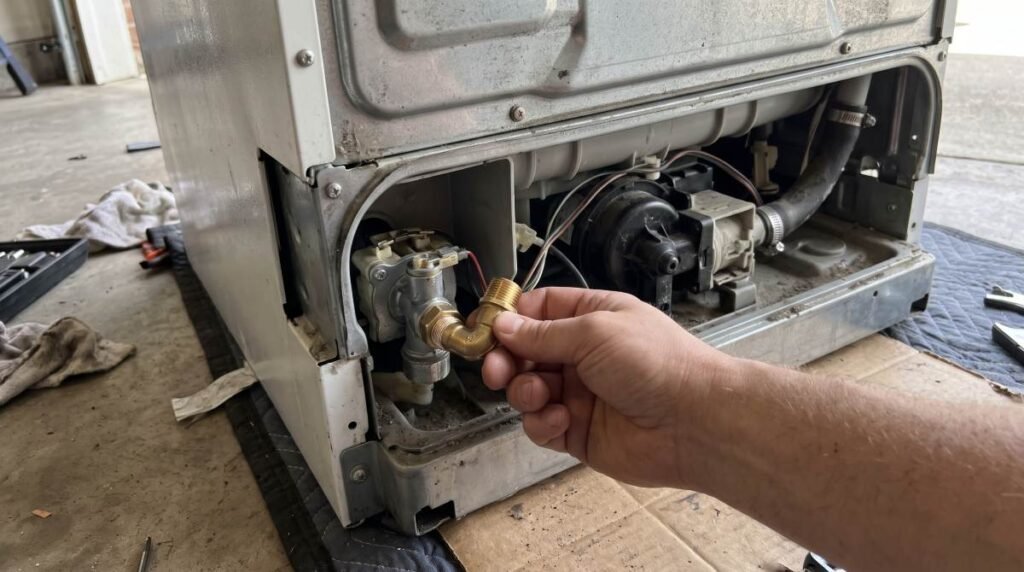
Most installation kits include a 90-degree brass elbow fitting, commonly referred to as a “Dishwasher 90.” This fitting is attached to the dishwasher’s water inlet valve, which is located behind the access panel.
Whether you need to apply pipe joint compound to the fitting’s threads or if the included rubber washer is sufficient depends on the specific type of fitting. Instructions may vary between different manufacturers; therefore, if you have the dishwasher’s installation manual, be sure to consult it.
First, attach the fitting by turning it by hand, taking care to ensure the threads do not become cross-threaded. The open end of the fitting should face the direction from which the water supply line will run. Afterward, use a wrench to tighten it by an additional quarter to half a turn. Tighten it just enough so that the fitting sits firmly in place, but ensure it does not crack.
Step 3: Attach the Supply Line to the Elbow
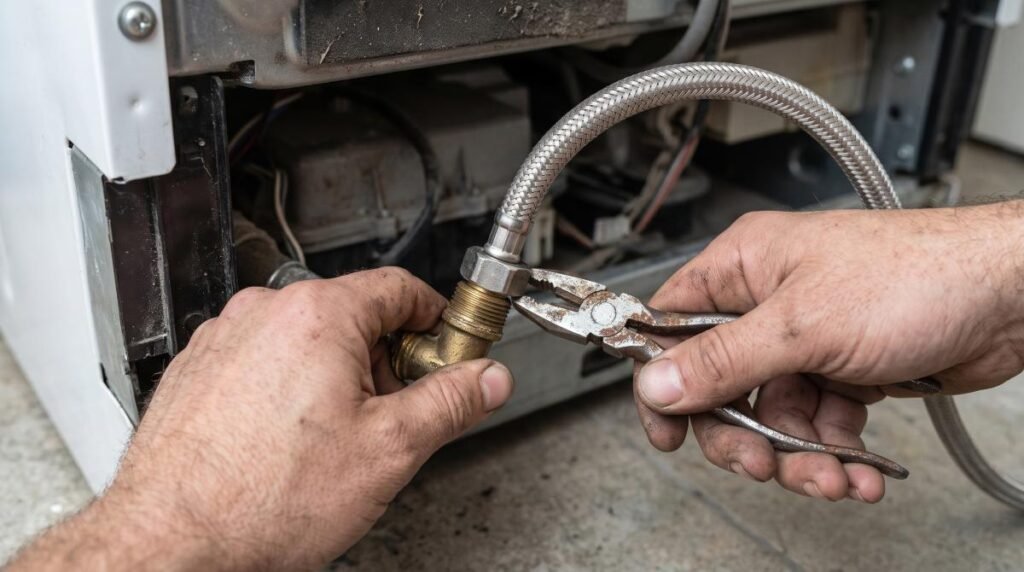
Tighten the coupling nut of the braided water supply line onto the elbow fitting. Since a compression fitting is used here, do not apply pipe joint compound to this connection—even though it might otherwise be required for elbow fittings.
First, tighten the nut by hand, then use pliers to snug it up a bit further. Overtightening can damage the threads, so once the nut stops turning easily, do not apply any more force.
Step 4: Connect the Other End and Check for Leaks
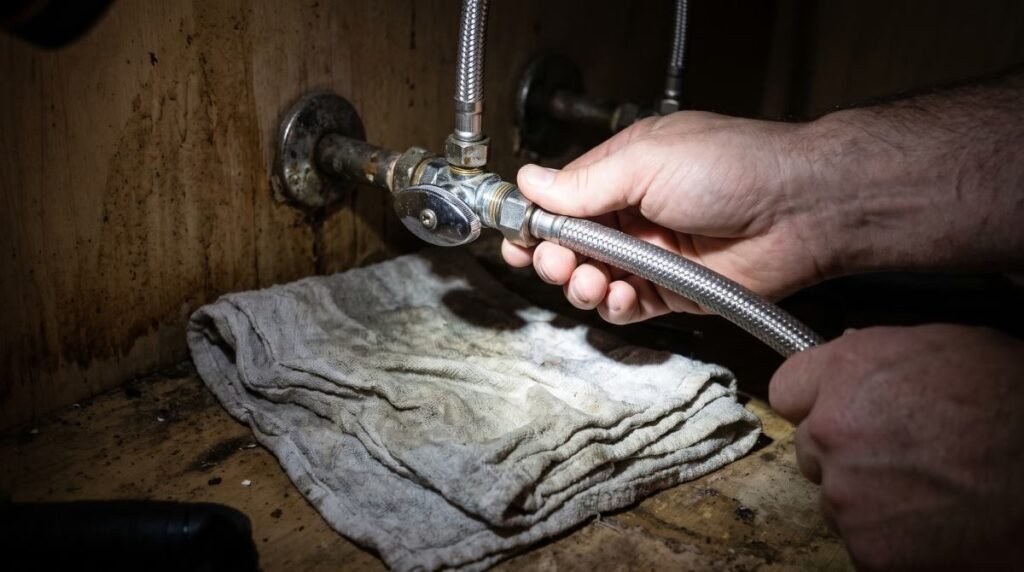
Route the water supply line through the gap between the cabinet and the space designated for the dishwasher. Ensure that the line does not come into contact with the sharp edges of the cabinet or the dishwasher’s motor components.
Connect the other end of the line to the shut-off valve located beneath the sink. If the valve threads do not match the line’s connector, use a 3/8-inch to 1/2-inch adapter.
Keep a towel or a small bucket nearby while making the connection; it is normal for a few drops of water to spill during the process.
Now, slowly open the shut-off valve and carefully observe each connection for a full minute to check for any leaks. If water is dripping, the connection usually just needs to be tightened by an additional quarter-turn—there is no need to disconnect it entirely.
Connecting the Drain Hose: Garbage Disposal vs. Air Gap
Most kits don’t include a drain hose. It often ships attached to the dishwasher already. If not, secure it with a hose clamp before making the connection.
Depending on your sink and local plumbing code, the hose connects one of two ways:
- Air-gap fitting: The hose attaches to an air-gap fitting mounted on the countertop. A second hose runs from there to the garbage disposal or sink drain tailpiece. California requires this method under the Uniform Plumbing Code.
- High-loop connection: The hose loops up and secures under the countertop, then drops back down to the garbage disposal or sink drain tailpiece. Most of the eastern half of the country allows this instead, under the International Residential Code.
An air-gap fitting also needs its own barbed connector, which most installation kits don’t include.
Installing the Dishwasher’s Power Cord or Hardwired Connection
Step 1: Confirm Which Connection Type Your Dishwasher Uses
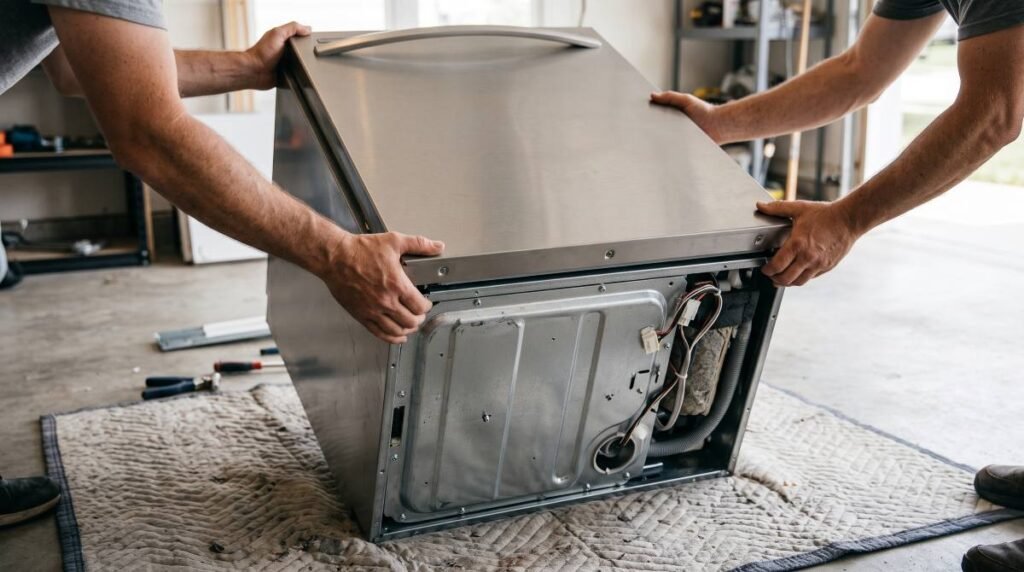
Some units plug into a nearby outlet with the included power cord. Others have a junction box for a hardwired connection to a dedicated circuit. Check the manual before assuming either way. A cord-and-plug connection is usually wired up while the dishwasher is still tipped on its back, before it goes into the cabinet. A hardwired connection gets taped to the floor first and wired after the unit slides into place. Either way, move the dishwasher with two people, it’s heavier than it looks.
Step 2: Connect the Cord or Wire the Junction Box
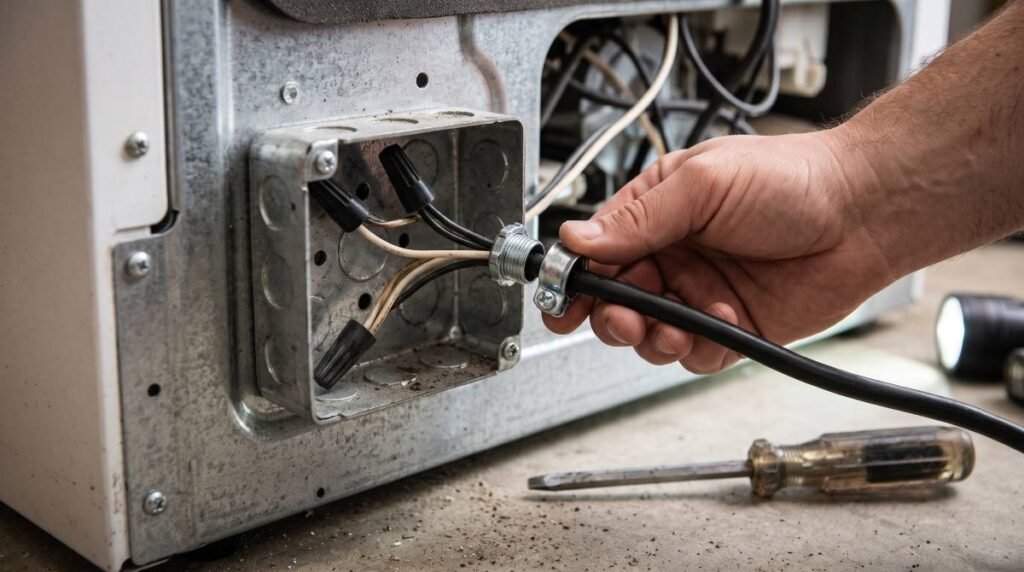
Pop the junction box cover off first, it’s held by a quarter-inch nut or a T20 screw. Thread the cord or hardwire cable through the access hole, then fit a strain relief clamp right where it enters the box. Skip that clamp and the cord can work itself loose months down the line.
How you make the connections depends on what you’re holding. Older junction boxes, and plenty still sold today, use twist-on wire nuts: green or bare to ground, white to white, black to black. Newer terminal boxes, a design Whirlpool started rolling out across several lines around 2020, skip the wire nuts entirely. You loosen a screw, slide the wire’s ring terminal underneath, and tighten it back down, same color pairing either way. Pop the cover and look before you grab tools, it takes five seconds and saves you from starting with the wrong technique.
Can’t tell which wire’s hot from the markings alone? Plug the cord into an outlet by itself, touch a non-contact voltage tester to each prong, and mark whichever one lights up before you unplug it and make the connection.
Tuck the wires back in and replace the junction box cover.
Step 3: Confirm the Circuit Meets Code
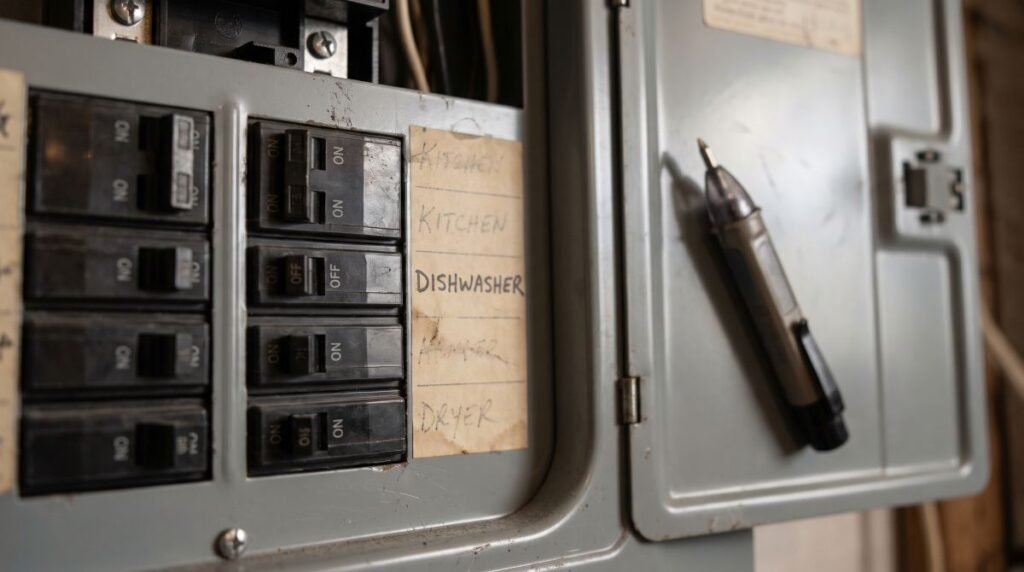
Don’t share this circuit. A dishwasher needs its own, not one split with a disposal, an outlet, or the kitchen lights. Most units pull 10 to 15 amps, which means a 15 or 20-amp breaker at 120 volts, wired with 14-gauge for 15 amps or 12-gauge for 20.
GFCI protection matters too. It’s not optional in most places anymore. The 2020 National Electrical Code requires Class A GFCI protection for dishwashers under Article 422.5(A)(7), whether yours plugs in or hardwires, per Leviton’s published code guide. Some jurisdictions amend that locally, though, so check your area’s adopted code instead of assuming.
Step 4: Restore Power and Test
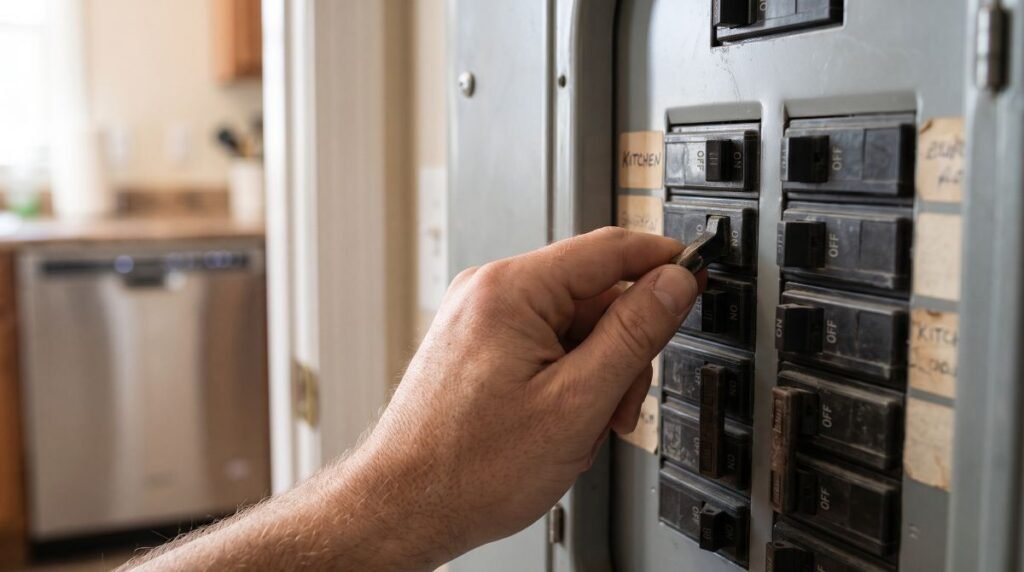
Flip the breaker back on, then run the dishwasher through a short cycle before you close up the cabinet. A loose wire nut is a two-minute fix right now. Screw that panel shut first, and it’s a much bigger job.
How Much a Dishwasher Installation Kit Costs
| Approach | Typical Cost | What’s Included |
|---|---|---|
| DIY kit only | $12 to $41 | Water line, fittings, sometimes a power cord |
| DIY kit plus new shutoff valve or GFCI outlet | $150 to $340 | Kit plus a part your existing setup is missing |
| Professional installation | $150 to $300 labor | Full connection, usually on top of appliance delivery |
| Professional removal and haul-away of the old unit | $170 to $250 | Disconnecting and removing the existing dishwasher |
Top Dishwasher Installation Kits on Amazon
Below is a list of the top 7 dishwasher installation kits on Amazon, picked for strong reviews and reliable stock:
| Kit | What’s Included |
|---|---|
| Eastman 6 Ft. Dishwasher Installation Kit | 6-ft braided stainless water line, 3/8″ compression ends, 3-prong power cord |
| Eastman 5 Ft. Dishwasher Installation Kit | 5-ft braided stainless water line, 3/8″ compression ends |
| Eastman 4 Ft. Dishwasher Installation Kit | 4-ft braided stainless water line, 3/8″ compression ends |
| PLUMBERMASTER Dishwasher Installation Kit | Water line, power cord, elbow connectors and adapters |
| Smart Choice 6-Foot Dishwasher Installation Kit | 6-ft stainless water line |
| Solimeta Universal Dishwasher Installation Kit | 6-ft water inlet hose, 6-ft drain hose, power cord, and accessories |
| SharkBite Dishwasher Connection Kit | Push-to-connect brass fittings compatible with PEX, copper, and CPVC |
Conclusion
A dishwasher installation kit isn’t complicated once you know what’s actually in the box and what isn’t. Buy based on your dishwasher’s confirmed requirements, not a guess. Check whether your model already includes the drain hose or power cord before ordering a kit that duplicates it.
And don’t skip the GFCI check just because the plumbing side went smoothly. Most of this job fits into one Saturday afternoon and a forty-dollar kit. The parts that don’t, like an air gap requirement or an undersized circuit, are exactly the parts worth confirming before you start.
FAQ’s
The Author

Muhammad Nabeel Dar is the founder of GarbageWasteDisposal.com, where he researches and evaluates garbage disposals, kitchen sinks, dishwashers, and kitchen drain systems to help homeowners make confident buying decisions.
After analyzing 30+ garbage disposal models, multiple sink configurations, and a wide range of drain system components across brands like InSinkErator, Waste King, Moen, GE, Frigidaire, and KRAUS, he focuses on what actually matters: real-world performance, build quality, noise levels, installation ease, durability, and overall value.