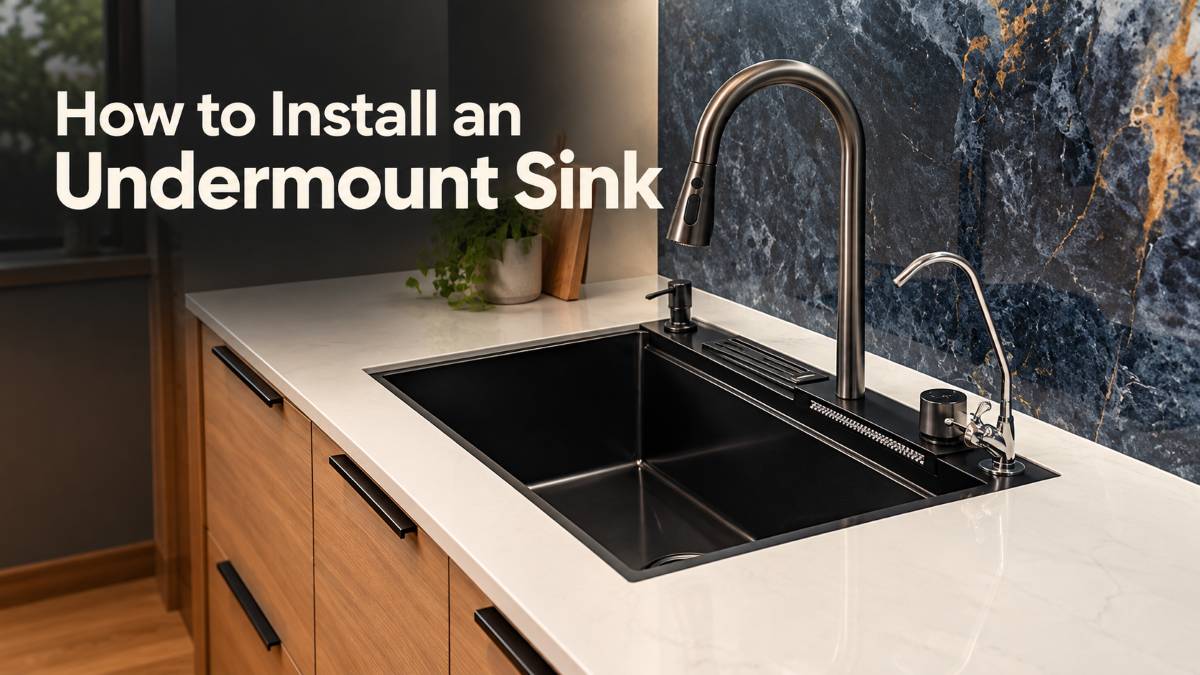
How to Install an Undermount Sink (Step by Step)
An undermount sink installation is not a weekend sink swap. Pull a drop-in sink out and drop a new one into the same hole, and you are done in an hour. Undermount works differently. The sink bonds to the underside of the countertop with clips and silicone instead of resting in a cutout. One difference. It changes almost every step that follows.
The payoff is real. No rim means no seam collecting crumbs and grease, and a countertop that runs clean straight to the edge of the bowl. Get the install right and it should outlast the sink itself. Rush one step and you are looking at a leak inside the cabinet six months from now.
Tools and Materials Required
Most of this comes from a hardware store in one trip. A few items, mainly the clips and template, ship with the sink itself.
- Tape measure and pencil
- Cardboard template (included with most sinks)
- Jigsaw or circular saw, matched to your countertop material
- Drill with a pilot bit
- Caulking gun
- 100 percent silicone sealant, labeled waterproof and mildew resistant
- Undermount sink clips with mounting studs and wingnuts
- Epoxy adhesive, for gluing studs to stone or solid surface countertops
- Adjustable wrench or screwdriver
- Putty knife
- Clean rags and denatured alcohol
- Safety glasses, dust mask, and gloves
- Bar clamps or an undermount sink harness, if the countertop is already installed and the sink needs to be suspended from below
Skip the bargain-bin caulk here. A cheap acrylic caulk shrinks and cracks within a year, and redoing a cured seal means cutting it out and starting the whole sealing step over.
Pick a Reveal Style Before You Cut
This decision happens before the saw touches anything, and most first-time installers never even know it is a choice. The reveal is how much of the sink’s rim sits visible once the countertop is cut and the sink is mounted.
A zero reveal lines the cut edge of the countertop up flush with the sink’s opening. Nothing overhangs. This is what most modern kitchens use, and it is also the easiest to keep clean since there is no ledge for grime to collect on.
A positive reveal leaves a bit of the sink’s rim showing, closer to how a drop-in sink looks, just without the raised lip. A negative reveal hides the rim entirely under an overhanging countertop edge, which looks dramatic in photos but is genuinely harder to clean along that overhang.
Trace your outline based on whichever reveal you want, not just the sink’s raw dimensions. Zero reveal, by far the most common choice, needs an opening roughly three eighths of an inch smaller than the sink’s outer edge on every side.
Is Your Countertop Even Compatible With an Undermount Sink?
Check this before you buy the sink, not after. Granite, quartz, solid surface materials like Corian, and concrete all work. These are dense, sealed, waterproof surfaces that can be cut to a clean edge and hold a glued stud without the material breaking down.
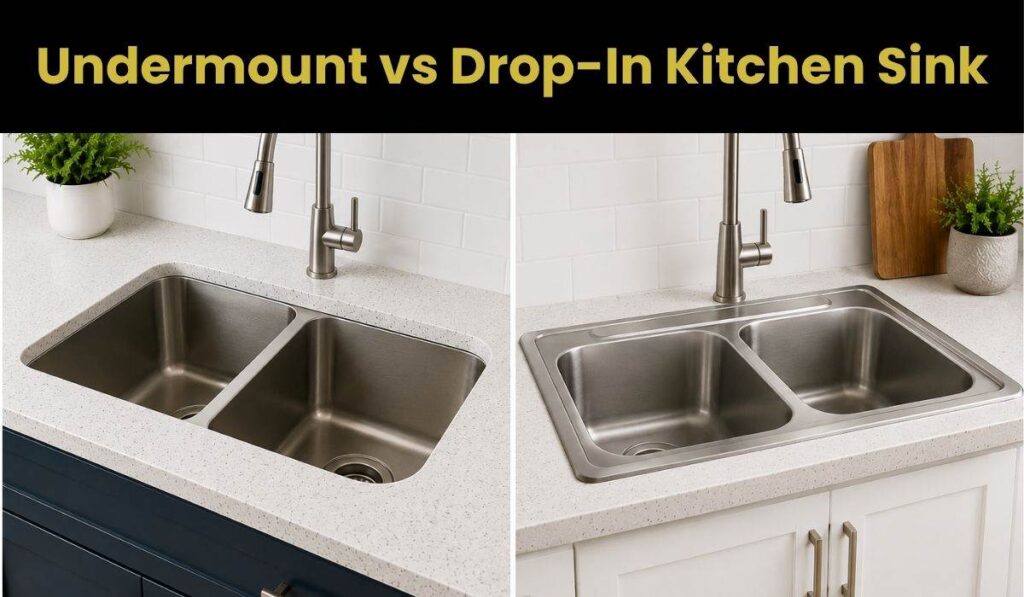
Laminate and standard tile cannot. Cutting a laminate countertop exposes the particleboard core underneath, and particleboard swells the moment it gets wet. It is not a maybe. Within two or three years of daily use, that swelling pushes the laminate face up around the sink opening, and the whole countertop needs replacing. Tile has the same problem at its grout lines and raw cut edges. Still deciding between mount types before you buy anything? A drop-in versus undermount comparison settles the countertop question fast, since a drop-in works on every material including laminate.
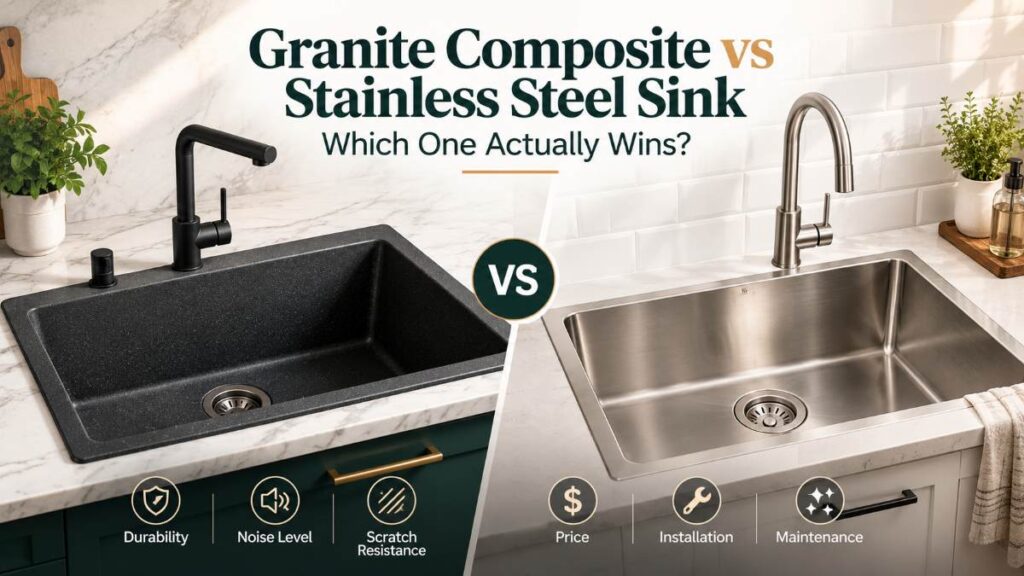
Heavier materials need more than clips. A granite composite basin can outweigh a comparable stainless bowl by 15 pounds or more, and that extra weight puts real strain on a countertop’s underside. Most manufacturers call for epoxy-glued studs in addition to the clips, sometimes with a plywood support frame built into the cabinet below. Stone and concrete countertops carry their own weight concerns too. A professional fabricator cutting and polishing the opening is worth the cost on anything heavier than standard stainless.
How to Install an Undermount Sink: Step by Step
Six steps cover the actual mounting process, start to finish. Do not skip the order.
Step 1: Measure and Dry-Fit the Sink
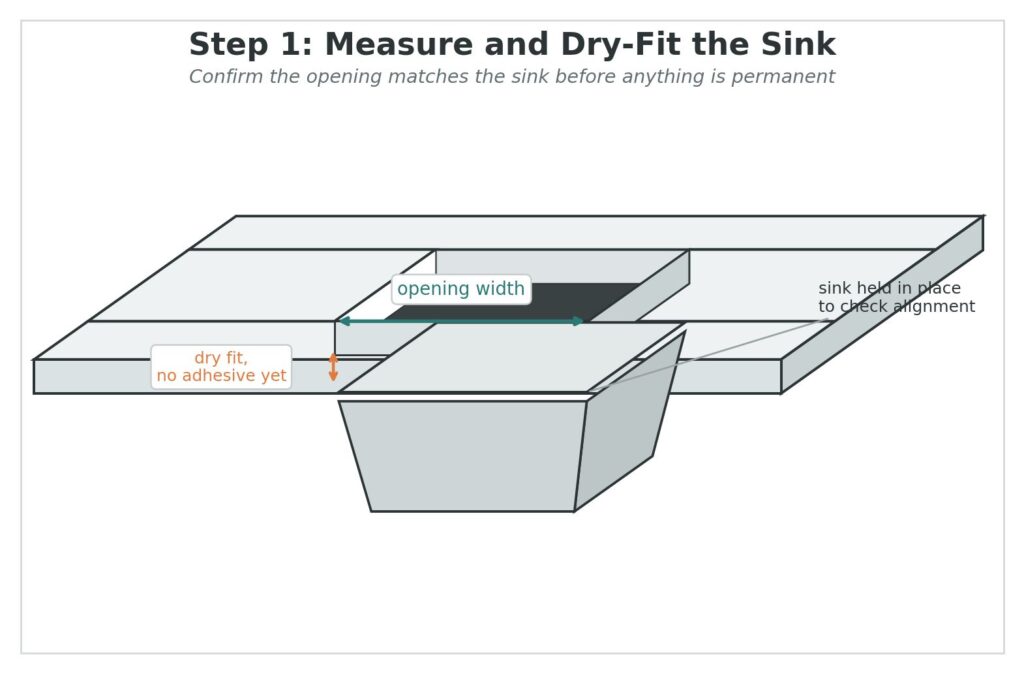
If the countertop is already cut, measure the opening and confirm your new sink matches before you do anything else. If it is not cut yet, use the cardboard template that shipped with the sink to trace the opening, accounting for your reveal style. Either way, set the sink into position without any adhesive and check the fit. This is the only point in the whole process where moving the sink costs you nothing.
A 16-gauge stainless sink holds its shape under clamping pressure better than thinner 18-gauge steel, which can flex slightly while clips tighten down. Worth knowing before you settle on a model.
Step 2: Trace and Cut the Countertop Opening
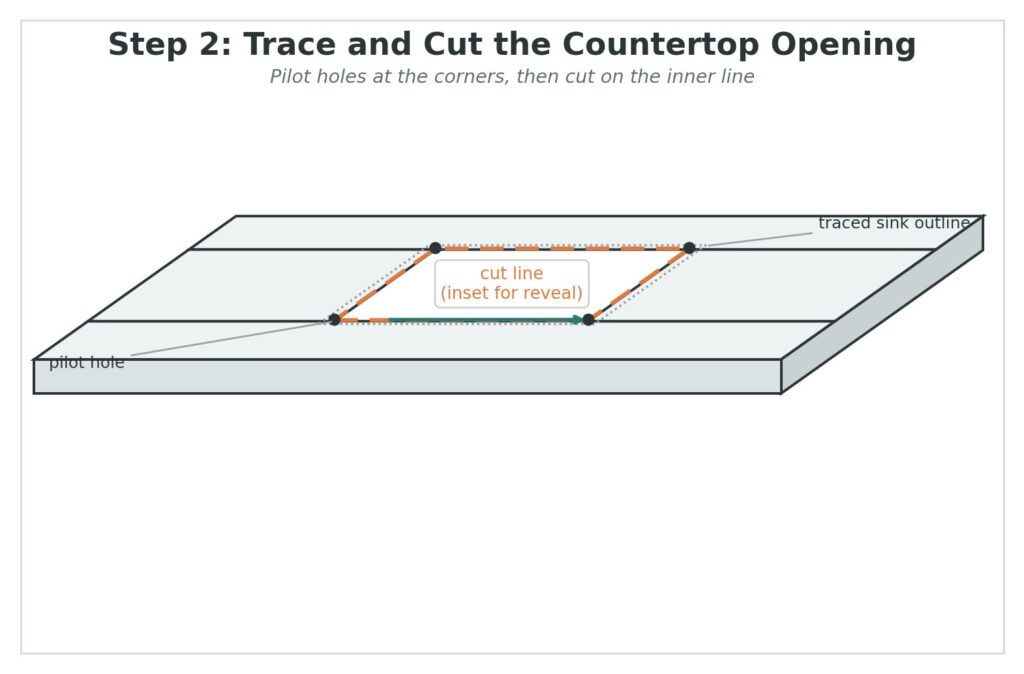
Drill pilot holes at the corners of your traced line so the saw blade has somewhere to start cleanly. Cut with a jigsaw for laminate or solid surface, or hire a fabricator with a diamond blade for granite and quartz. Sand any rough edges smooth once the cut is done.
Step 3: Clean the Countertop and Sink Edges
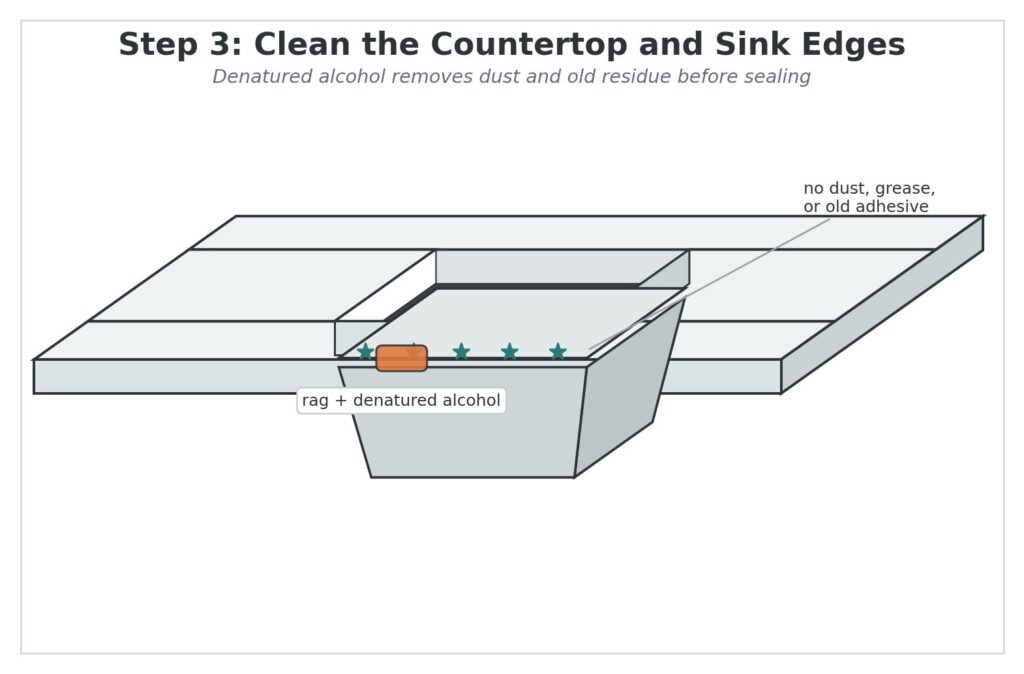
Wipe down the underside of the countertop around the opening and the rim of the sink with denatured alcohol. Any leftover dust, grease, or old adhesive residue weakens the silicone bond before it even cures.
Step 4: Apply the Silicone Sealant
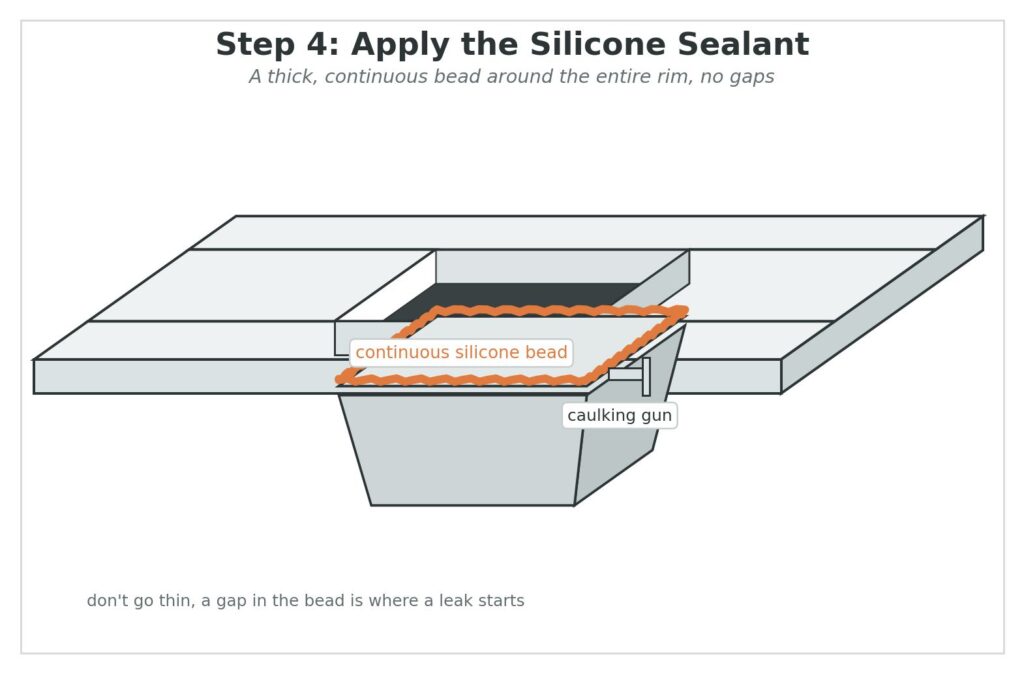
Run a thick, continuous bead of silicone around the entire rim of the sink, right where it meets the countertop’s underside. Don’t go thin here to save product. A gap in the bead is where a leak starts.
Step 5: Position, Clip, and Secure the Sink
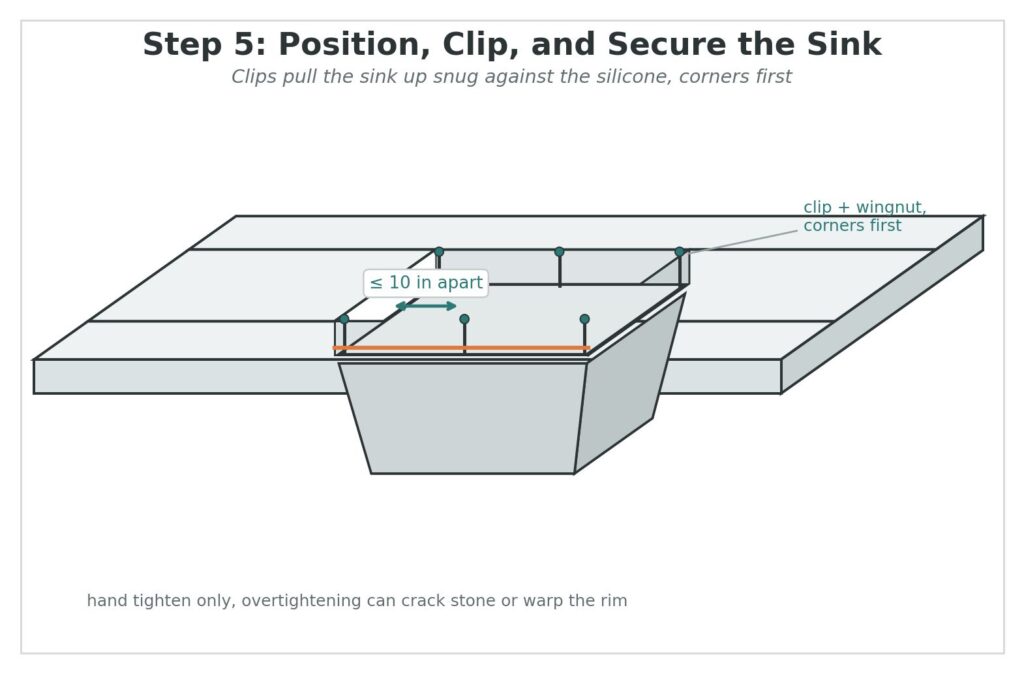
Lift the sink into place against the wet silicone. If the countertop is already installed, support the sink on stacked boards or a harness while you glue the mounting studs to the underside. Then tighten clips over them with wingnuts, corners first, spacing the rest no more than ten inches apart. Hand tighten only. Overtightening can crack a stone countertop or warp a thin sink rim.
Step 6: Let It Cure Before Connecting the Faucet and Drain
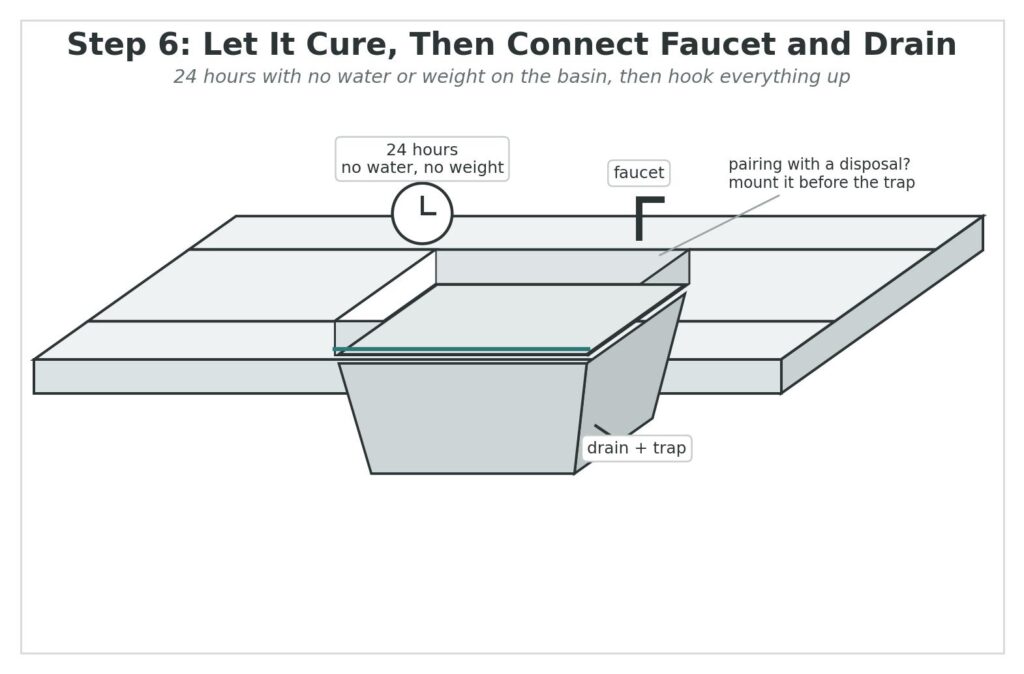
Wipe away any silicone that squeezed out while the sink pressed into place, then leave it alone for 24 hours. No water, no weight on the basin, nothing. Once it cures, mount the faucet and drain assembly. If you’re pairing the new sink with a garbage disposal, installing the disposal comes before you reconnect the trap underneath.
Common Undermount Sink Installation Problems (and How to Fix Them)
Most undermount failures trace back to one of three things. Here is what each one looks like, why it happens, and exactly how to fix it.
| Problem | Why It Happens | How to Fix It |
|---|---|---|
| Leaking seal | A thin or broken silicone bead, or water touching the joint before the full 24 hour cure finished | Cut out the old bead with a razor blade, clean both surfaces with denatured alcohol, reapply a full bead, and wait the full 24 hours before the sink sees any water |
| Uneven or crooked sink | Clips tightened unevenly, pulling one side up faster than the other | Catch it in the first 20 to 30 minutes, while the silicone is still soft enough to shift. Once it skins over, cutting the seal and starting again is the only fix |
| Sagging or wobbly sink | Too few clips, or clips spaced more than 10 inches apart for the sink’s weight | Add clips so none are spaced more than 10 inches apart, tighten anything loose, and add a support frame under heavy composite or cast iron basins |
DIY or Call a Professional?
Cutting laminate or solid surface yourself with a jigsaw is realistic for most people with basic tool experience. Cutting granite, quartz, or any natural stone is not. That takes a diamond blade, a wet saw, and the kind of precision that turns a mistake into a cracked slab worth thousands of dollars.
Suspending a heavy sink alone under an already-installed countertop is also harder than it sounds on paper. A second set of hands makes a real difference here. So does a dedicated sink harness. Either one is cheaper than a cracked countertop from a sink that slipped mid-glue.
If your project is a standard stainless sink going into a solid surface countertop you are comfortable cutting, this is a genuinely doable weekend project. Add granite, concrete, or a composite basin into the mix, and the math changes. Price in what a cracked countertop costs to replace. Paying a fabricator for the cut, or a plumber for the full install, usually comes out cheaper.
Conclusion
Undermount sink installation rewards patience more than skill. Every step in this guide exists because skipping it shows up later, as a leak, a crooked sink, or a countertop that needed cutting twice.
Measure twice, clean before you seal, and give the silicone its full 24 hours. Do those three things and the rest of the process is straightforward enough for a confident DIYer to finish in a single weekend.
FAQ’s
The Author

Muhammad Nabeel Dar is the founder of GarbageWasteDisposal.com, where he researches and evaluates garbage disposals, kitchen sinks, dishwashers, and kitchen drain systems to help homeowners make confident buying decisions.
After analyzing 30+ garbage disposal models, multiple sink configurations, and a wide range of drain system components across brands like InSinkErator, Waste King, Moen, GE, Frigidaire, and KRAUS, he focuses on what actually matters: real-world performance, build quality, noise levels, installation ease, durability, and overall value.