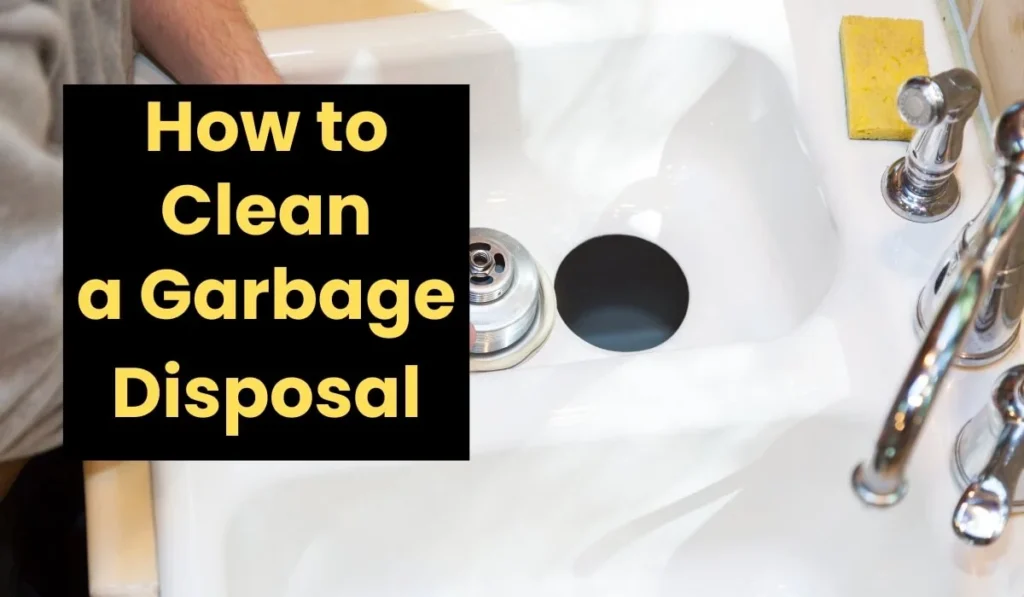
How to Remove a Garbage Disposal Splash Guard (By Model Type)
If you’re worried about how to remove garbage disposal splash guard, the process is usually quick — but it depends on the type you have. Some splash guards are designed to pop out easily from above, while others are fixed in place and require removing the entire disposal unit first. Knowing which type you’re dealing with saves time and prevents unnecessary frustration.
Most homeowners assume it’s a simple pull-and-replace job, but that’s not always the case.
Why Replace Your Splash Guard?
- Cracked or stiff rubber no longer blocks splashback
- Trapped food debris under worn flaps causes persistent odors
- Mold or bacteria buildup that cleaning alone can’t fix
- Visible deterioration after 2-3 years of regular use
Before You Start
Turn off the disposal at the wall switch. For extra safety, unplug the unit under the sink or flip the breaker that powers it. Never work on a disposal that could accidentally turn on.
Method 1: Removable Splash Guards (Waste King, Moen, Evolution Series)

These guards sit in the drain opening from above and come out without tools.
Steps
- Reach into the drain opening and grip the inner edge of the rubber splash guard
- Peel the guard upward from one side — it flexes easily since it’s just rubber seated in a groove
- Pull the guard completely out of the opening
- Clean the rim of the drain opening with a soapy brush to remove any buildup under where the guard sat
- Press the new splash guard into the opening, making sure it seats evenly all the way around
The whole process takes under a minute. No tools. No plumbing.
For InSinkErator Evolution models with the QuietCollar baffle: twist the collar counterclockwise to unlock it, then lift straight up. The replacement drops in and twists clockwise to lock.
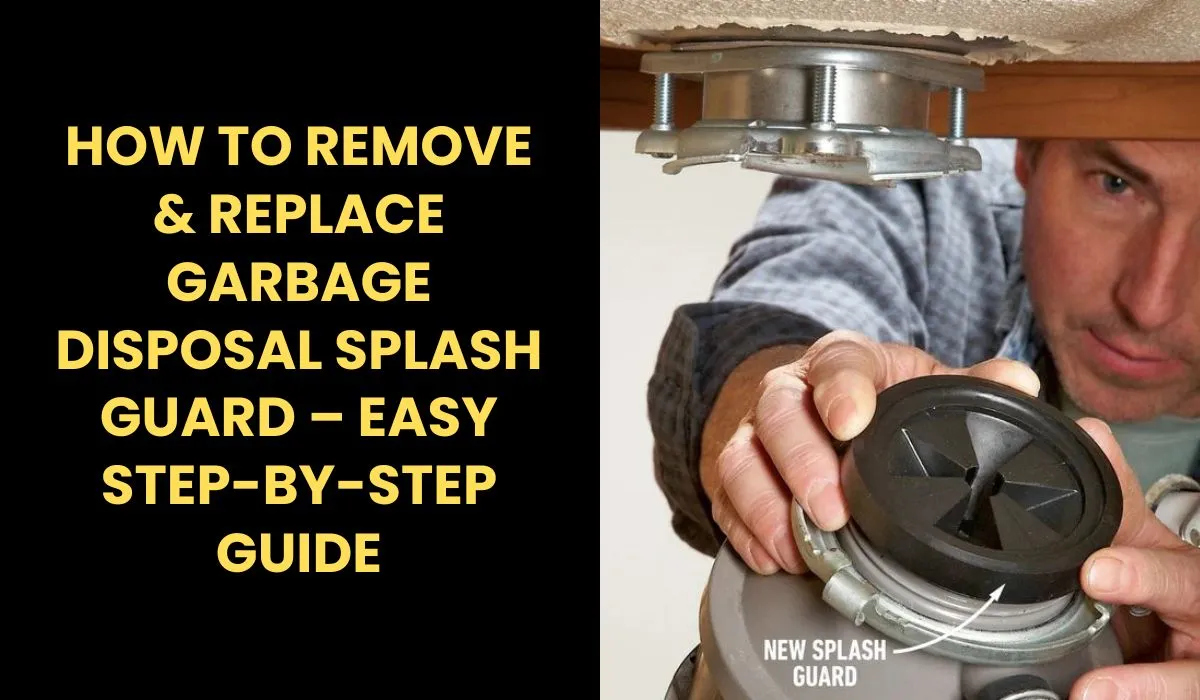
Method 2: Fixed Splash Guards (InSinkErator Badger Series)
Badger-series disposals mount the splash guard beneath the flange assembly. You can’t reach it from above — the disposal has to come off first.
What You’ll Need
- Bucket or towel (to catch residual water)
- Pliers or channel locks
- Flat-head screwdriver (optional, for prying the guard)
Steps
- Disconnect the dishwasher hose from the disposal inlet (if connected)
- Loosen the slip-joint nut on the discharge pipe where it meets the P-trap, then disconnect
- Support the disposal from below with one hand
- Rotate the mounting ring counterclockwise using the wrench that came with the disposal (or insert a screwdriver into the mounting lug and twist)
- Lower the disposal away from the sink mount
- Locate the splash guard — it sits inside the mounting flange above where the disposal connected
- Pry the old guard out with a flat-head screwdriver or pull it by hand
- Press the new splash guard into the flange groove
- Remount the disposal by lifting it into position and twisting the mounting ring clockwise until it locks
- Reconnect the discharge pipe and dishwasher hose
- Restore power and test with running water
This method takes 20-30 minutes. If you’ve never removed your disposal before, our 3-Bolt vs. EZ Mount Disposal Comparison explains how each mounting system works.
How to Tell Which Type You Have
Not sure if your splash guard is removable? Start by looking down into the drain — if you can see rubber flaps sitting loosely in the opening, it’s likely removable. Try gently lifting an edge; removable guards will flex and come up easily, while fixed ones won’t move at all.
You can also check your disposal model for confirmation: Waste King, Moen, and InSinkErator Evolution models typically use removable guards, while InSinkErator Badger models have fixed ones. If you’re unsure about sizing for a replacement, refer to a disposal splash guard size guide for a brand-by-brand comparison.
The Bottom Line
Removable splash guards take 30 seconds to swap. Fixed guards require removing the disposal first, adding about 20-30 minutes. Identify which type you have before buying a replacement, and the job stays simple either way.
FAQ’s
The Author

Muhammad Nabeel Dar is the founder of GarbageWasteDisposal.com, where he researches and evaluates garbage disposals, kitchen sinks, and kitchen appliances to help homeowners make confident buying decisions. After analyzing over 30 garbage disposal models, multiple kitchen sink configurations, and a growing range of kitchen products across brands like InSinkErator, Waste King, Moen, GE, Frigidaire, and KRAUS — and reviewing thousands of verified customer experiences — he focuses on what actually matters: real-world performance, build quality, noise levels, installation ease, durability, and whether a product is worth the price. His reviews are independent, never sponsored, and written to give you the honest details manufacturers won’t tell you.