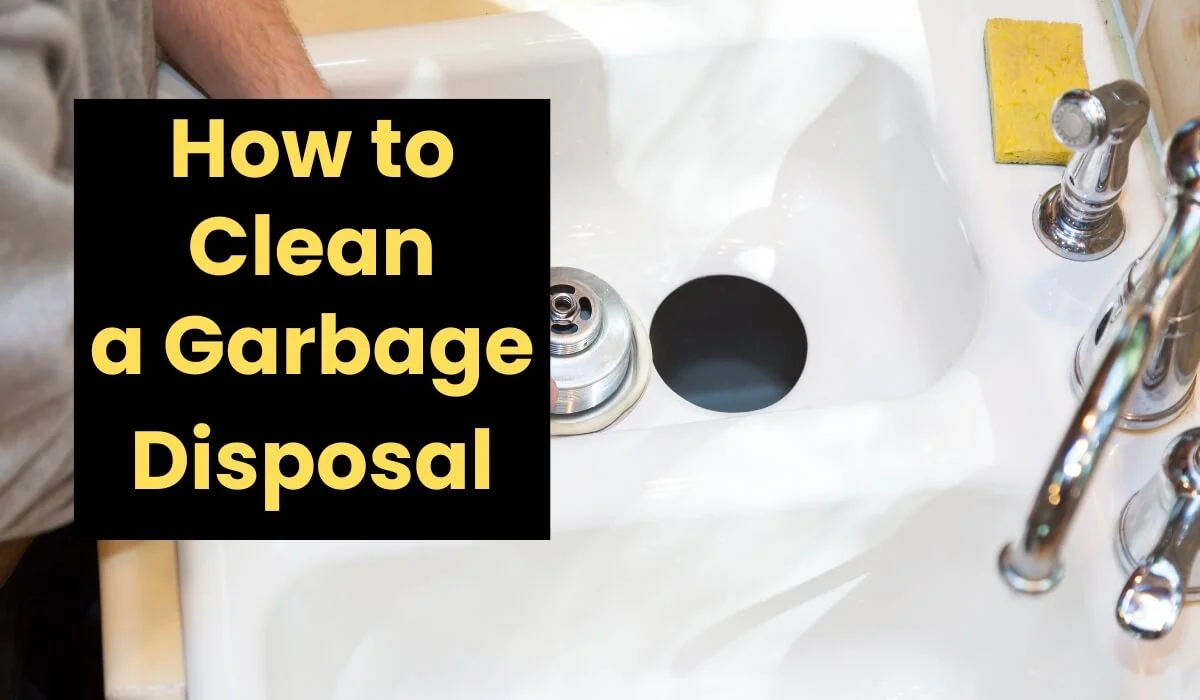
How to Clean a Garbage Disposal: 4 Easy Steps
A garbage disposal that smells bad is a garbage disposal that has not been cleaned properly. Not just recently. Probably ever. Most people assume running water through the disposal after grinding counts as cleaning. It does not. Food particles lodge in grooves on the grind ring, coat the walls of the chamber, and collect under the splash guard where water flow never reaches them. That buildup is what produces the sour smell that makes you hold your breath every time you lean over the sink.
Knowing how to clean a garbage disposal the right way takes about ten minutes and uses items already in your kitchen. But the order you do it in matters, and most guides online get that wrong by listing four methods with no explanation of which to do first or why.
Here is the correct sequence, what each step actually does, and what to do when a smelly garbage disposal still stinks after you have cleaned it.
Start with the Splash Guard (The Part Everyone Skips)
Before you touch anything else, pull the rubber splash guard up and look at the underside. That is where the worst buildup lives. Ground food particles land on the underside of the baffle every time the disposal runs, and because no water flow reaches that surface, those particles decompose in place. The result is a layer of dark slime that smells the moment you expose it.
Scrub it with an old toothbrush and dish soap. Get into every fold and lip. If your disposal has a removable splash guard, pull it out completely and scrub it in the sink. If the slime is thick, soak it in warm water with a spoonful of baking soda for ten minutes first.
This one step fixes the smell problem in a surprising number of kitchens. People replace disposal units, pour chemicals down the drain, and call plumbers when the actual source of the stinky garbage disposal smell has been sitting on the underside of a rubber flap the entire time.
Step 1: Ice and Salt to Scrub the Chamber
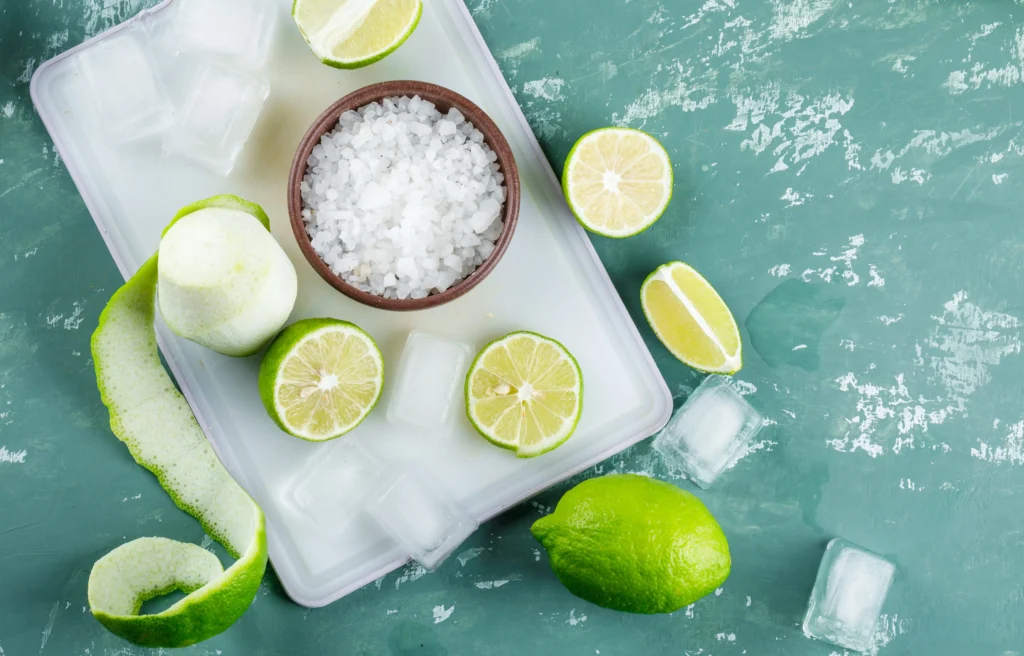
Drop a full cup of ice cubes into the disposal. Add half a cup of coarse rock salt or kosher salt on top of the ice. Run cold water and turn the disposal on until the ice is completely crushed.
Why this goes first: the ice shatters against the grinding surfaces while the salt acts as an abrasive that physically scrubs the chamber walls, the grind ring grooves, and the impeller plate. You are mechanically removing the food film and biofilm that water flow cannot reach. Baking soda and vinegar loosen residue chemically, but they cannot remove what is physically stuck to a surface. The mechanical scrub needs to happen before the chemical step so the vinegar has clean surfaces to work on.
A bonus trick worth trying: freeze white vinegar into ice cubes and use those instead of regular ice. You get the mechanical scrub and the acidic cleaning action in one step.
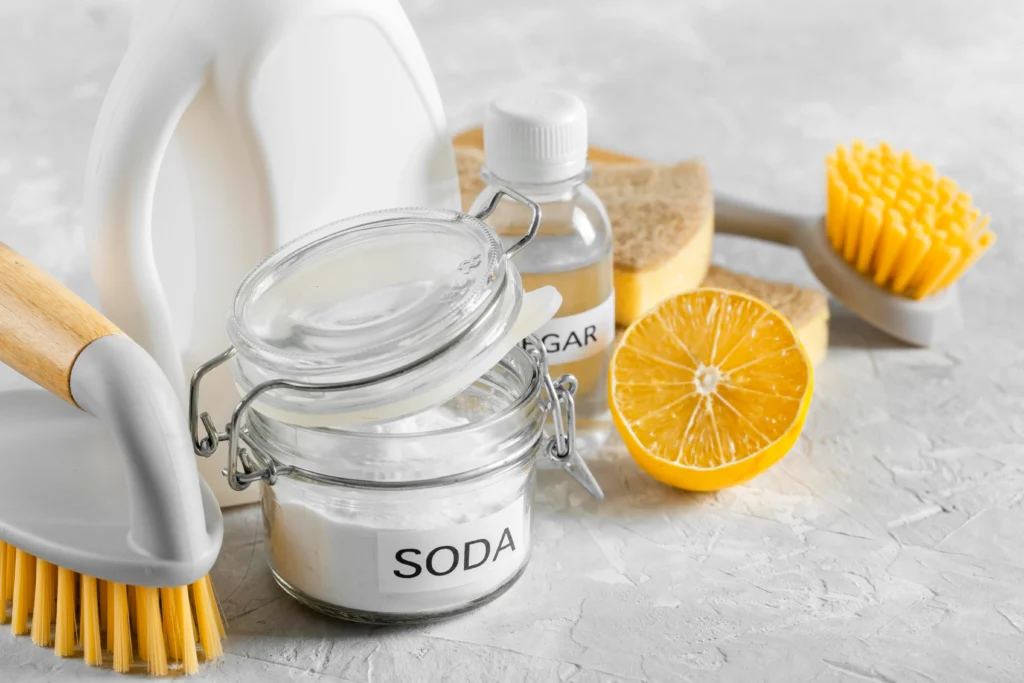
Step 2: Baking Soda and Vinegar to Deodorize
- Drop a handful of ice cubes into the disposal
- Add 1 cup coarse salt (rock salt or kosher salt)
- Run the disposal with cold water for 15-20 seconds
- The ice and salt scrub the grind components and knock loose stuck-on debris
Do this monthly to keep the grinding chamber clean.
Step 3: Hot Soapy Water Flush for Grease
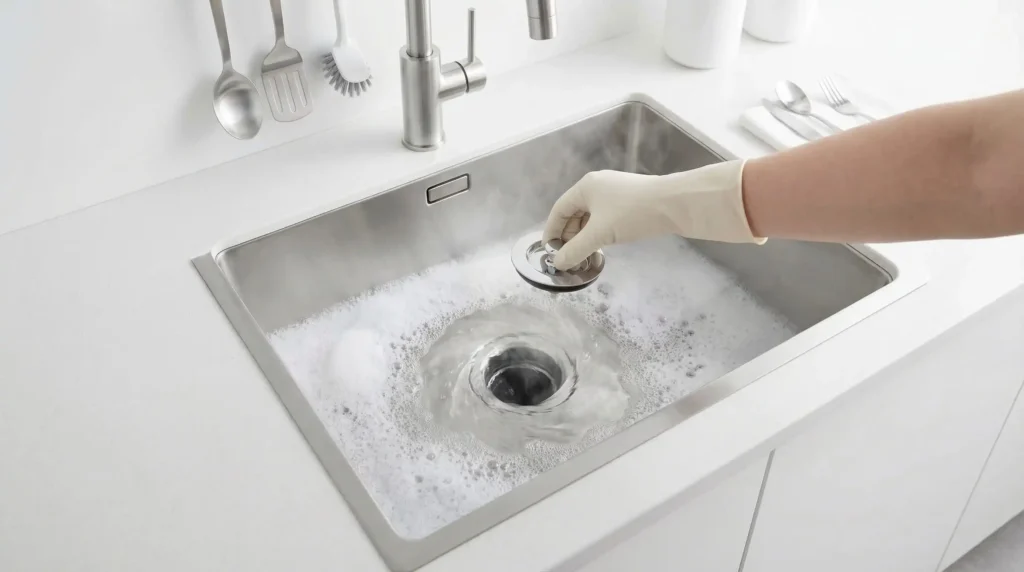
Plug the sink drain. Fill the basin halfway with hot water and add a generous squirt of degreasing dish soap. Pull the plug and run the disposal as the water drains through.
The volume matters here. A full basin of hot soapy water produces far more flushing force than a trickle from the faucet. That force pushes grease and loosened residue not just through the disposal chamber but through the discharge pipe and past the P-trap, which is the section of plumbing most cleaning methods never reach. If your garbage disposal smells bad even after a standard baking soda flush, built-up grease in the discharge pipe below the disposal is often the reason.
Step 4: Citrus Peels to Freshen
Run cold water and drop small pieces of lemon, lime, or orange peel into the disposal. Let it grind them completely.
This step goes last because it is not a cleaning method. It is a finishing step. Citrus oils coat the freshly cleaned chamber surfaces and leave a scent that masks any remaining trace odor while the oils naturally discourage bacterial regrowth. Grinding citrus peels into a dirty disposal accomplishes almost nothing. Grinding them into a disposal you just cleaned with ice, salt, baking soda, and hot water extends the freshness for days.
What Different Smells Tell You
Not every garbage disposal smell means the same thing. The character of the odor points to the source.
A sour or rotten food smell is the most common and the easiest to fix. Decomposing food particles inside the chamber or on the splash guard. The four-step cleaning process above handles this completely.
A garbage disposal that smells like sewage is not a chamber problem. Sewer smell comes from below the disposal, typically from a dry P-trap or a plumbing vent issue. The P-trap is the U-shaped pipe section under the sink that holds water as a seal against sewer gases. If that water evaporates from infrequent use, sewer gas enters the kitchen through the drain. Run water for 30 seconds to refill the trap. If the smell returns within a day, the problem is the plumbing vent, not the disposal.
A garbage disposal that smells like mold means moisture is sitting somewhere without airflow. Common spots are the underside of the splash guard (where the slime grows), the area between the disposal flange and the sink opening, or the inside of the discharge pipe. Clean the splash guard thoroughly and check the flange seal for gaps where food and water could be collecting.
A chemical or burning smell is not a cleaning issue at all. That is an overheating motor or a failing electrical connection and needs immediate attention. Turn the disposal off and do not use it until the cause is identified.
How Often Should You Actually Clean It
Depends on how much you use it.
If you run the disposal after every meal (two to three times daily), do the full four-step cleaning process once a week. The splash guard scrub should happen every two weeks at minimum.
If you use the disposal once a day or less, once a month is sufficient for the full process. Scrub the splash guard monthly.
If you barely use the disposal, the risk shifts from food buildup to standing water and P-trap evaporation. Run water through the disposal for 30 seconds at least once a week even when you are not grinding anything. That keeps the trap full and the surfaces from drying out.
What NOT to Use Inside the Disposal
Chemical drain cleaners are the worst thing you can pour into a garbage disposal. Products like Drano and Liquid-Plumber contain sodium hydroxide or sulfuric acid that corrodes the metal grinding components and eats through the rubber splash guard and gasket seals. A single use probably will not destroy the disposal. Repeated use absolutely will. For a full breakdown of what drain cleaners actually do to disposal components, that guide covers the specific chemistry.
Bleach in small diluted amounts is not catastrophic, but regular use degrades rubber and corrodes metal over time. Baking soda and vinegar achieve the same sanitizing result without the material damage.
Abrasive scouring pads inside the chamber scratch the stainless steel grinding components and create rough spots where food particles catch and accumulate faster than on smooth surfaces. Use a brush, not a pad.
FAQ’s
The Author

Muhammad Nabeel Dar is the founder of GarbageWasteDisposal.com, where he researches and evaluates garbage disposals, kitchen sinks, dishwashers, and kitchen drain systems to help homeowners make confident buying decisions.
After analyzing 30+ garbage disposal models, multiple sink configurations, and a wide range of drain system components across brands like InSinkErator, Waste King, Moen, GE, Frigidaire, and KRAUS, he focuses on what actually matters: real-world performance, build quality, noise levels, installation ease, durability, and overall value.