How to Clean a Garbage Disposal: 4 Easy Methods
Food particles get trapped under the splash guard and inside the grinding chamber every time you use your disposal. If you do not clean it regularly, those particles decay, produce odors, and reduce grinding efficiency. Cleaning takes 5-10 minutes. Do it once a month — more often if you use the disposal daily.
Safety first: Always turn off the disposal and disconnect power before cleaning. Never put your hand inside. Use tongs or pliers to remove debris.
In this guide, we will learn how to clean a garbage disposal in 4 easy methords for better hygiene and a cleaner kitchen.
Method 1: Baking Soda and Vinegar (Best for Odors)
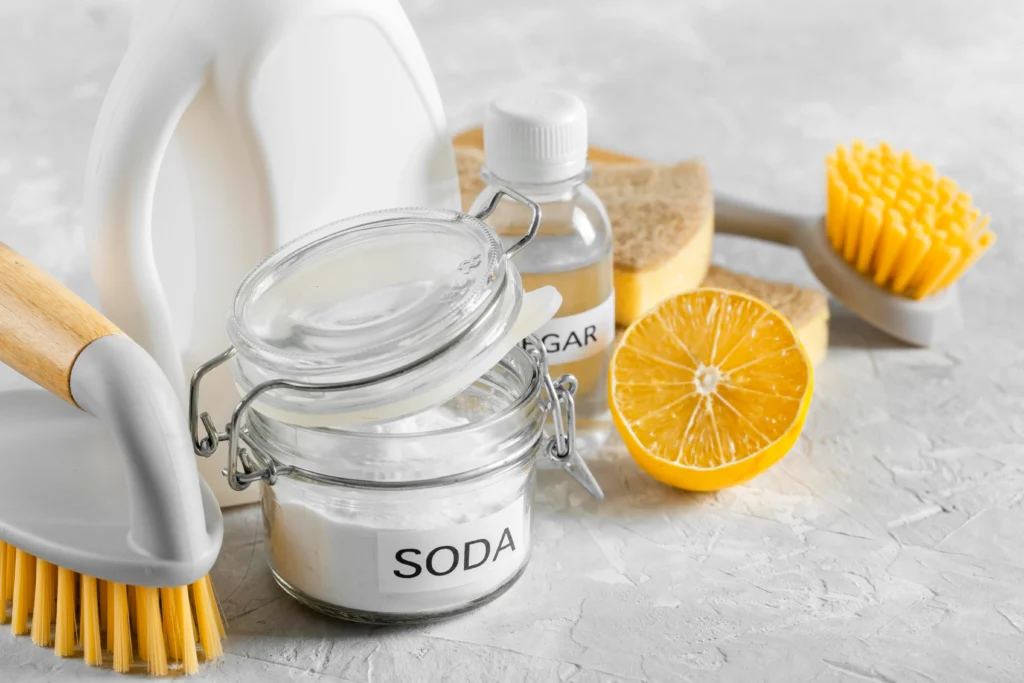
- Pour 1/2 cup baking soda into the disposal
- Follow with 1 cup white vinegar
- Let it fizz for 10 minutes (the fizzing breaks down grease and food residue)
- Flush with hot water for 30 seconds
This is the best method for eliminating odors without harsh chemicals.
Method 2: Ice and Salt (Best for Buildup)
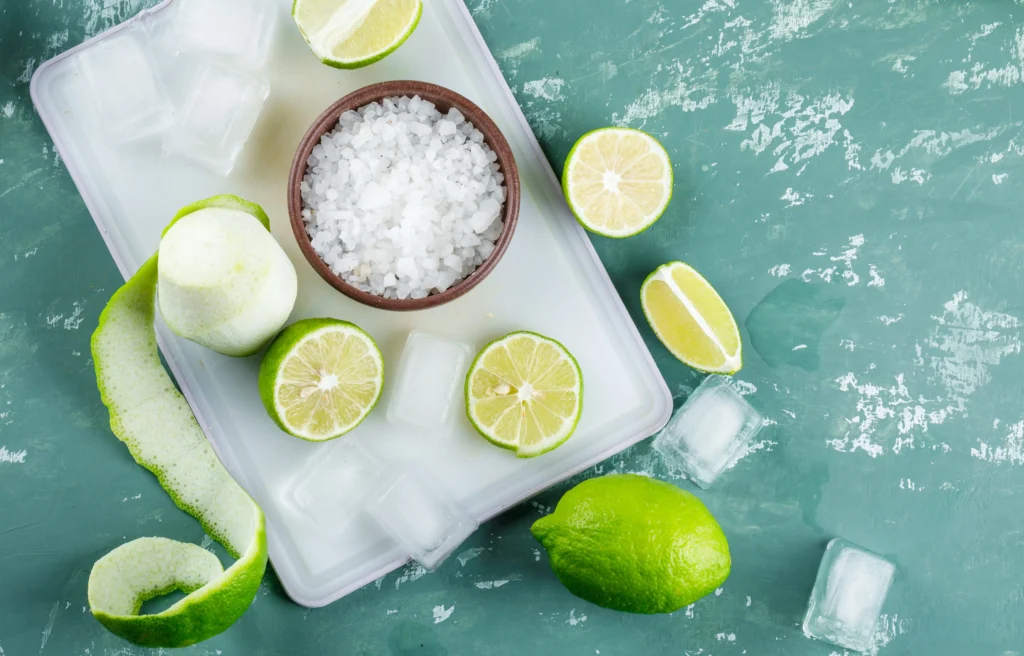
- Drop a handful of ice cubes into the disposal
- Add 1 cup coarse salt (rock salt or kosher salt)
- Run the disposal with cold water for 15-20 seconds
- The ice and salt scrub the grind components and knock loose stuck-on debris
Do this monthly to keep the grinding chamber clean.
Method 3: Citrus Peels (Best for Freshening)
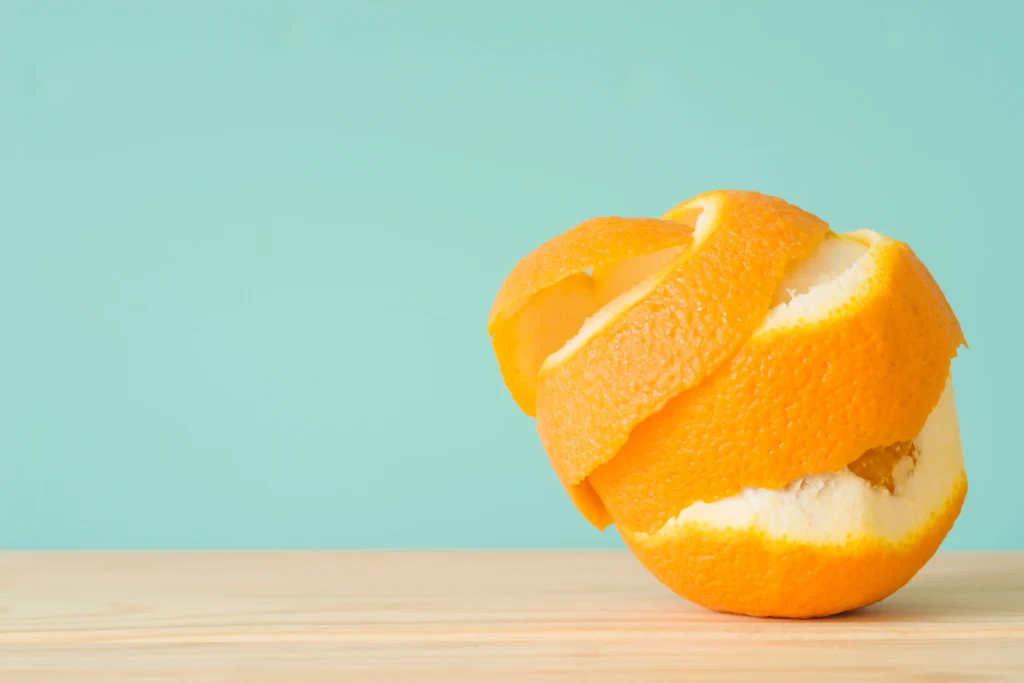
- Cut a lemon, lime, or orange into small pieces
- Drop them into the disposal
- Run the disposal with cold water
The natural oils in citrus peels deodorize the chamber and leave a fresh scent. This is a finishing step — use it after Method 1 or 2.
Method 4: Hot Soapy Water Flush (Best for Grease)
- Plug the sink drain
- Fill the sink halfway with hot water
- Add a squirt of dish soap
- Remove the plug and run the disposal as the water drains
The volume of hot, soapy water flushes grease and residue from the chamber and drain pipe.
Do Not Forget the Splash Guard
The rubber splash guard traps food and grease on its underside. Lift each flap and scrub with an old toothbrush dipped in dish soap. Rinse thoroughly. If the splash guard is removable, take it out for easier cleaning.
A dirty splash guard is the most common source of “mystery” disposal odors. For persistent smells, read our 5 tips to eliminate garbage disposal odor.
What NOT to Use
- Chemical drain cleaners — they corrode disposal components and damage plumbing seals. Read can you use drain cleaner in a disposal?
- Bleach — occasional diluted use is okay, but regular bleach exposure damages rubber and metal components
- Abrasive scouring pads inside the chamber — they scratch and damage grind components
Conclusion
Monthly cleaning keeps your disposal odor-free and running efficiently. Use baking soda + vinegar for odors, ice + salt for buildup, citrus for freshening, and hot soapy water for grease. Always clean the splash guard — it is where most odors hide. For the full maintenance picture, also read hot vs cold water for your disposal.
FAQ’s
The Author

Muhammad Nabeel Dar is the founder of GarbageWasteDisposal.com, where he researches and evaluates garbage disposals, kitchen sinks, dishwashers, and kitchen drain systems to help homeowners make confident buying decisions.
After analyzing 30+ garbage disposal models, multiple sink configurations, and a wide range of drain system components across brands like InSinkErator, Waste King, Moen, GE, Frigidaire, and KRAUS, he focuses on what actually matters: real-world performance, build quality, noise levels, installation ease, durability, and overall value.